
Ultrasonic Thickness Gauge Shows Nothing? Check These Five Points
The same gauge worked yesterday and shows nothing today. In most cases the instrument is fine - work through these five checks before sending it away.
1. No echo at all
Start with coupling. Rust, paint, scale or a rough surface traps a layer of air between probe and part, and the sound never gets in. Grind or file to bare metal, then apply couplant.
Then check angle: if the front and back surfaces are not parallel, the back-wall echo scatters away. On curved parts use a small-diameter probe – a flat probe on a curved surface touches only at a point or along a line.
Castings and austenitic steel deserve special mention: coarse grains scatter heavily and the echo drowns. Switch to a lower-frequency, coarse-grain probe.
2. Readings jump or disappear intermittently
Usually a worn probe face. The acrylic wear layer clouds with use and sensitivity falls. Resurface with 500-grit paper while keeping it parallel; if it is still unstable, replace the probe.
A back wall with heavy pitting does the same: the pits attenuate the beam, readings wander and sometimes vanish.
3. Readings too high
Three common causes. Internal deposit whose acoustic impedance is close to the steel – the gauge shows wall plus deposit. A dense oxide or paint layer, because sound travels at a different speed in each material. Internal defects such as inclusions, where the reading often lands near 70 percent of nominal thickness and a flaw detector is needed to locate the defect.
4. Readings too low or unstable
Wrong velocity is the most common: calibrating on steel and then measuring aluminium guarantees an error. Confirm the material or reverse-measure velocity on a standard.
Hot work also misreads: sound speed in solids falls by roughly one percent per 100 degrees Celsius. In-service hot equipment needs a 300-600 degrees probe; a standard probe must not be used.
5. Unit dies mid-measurement
Replace the battery first. Then check the probe connector for oxide or a loose fit – connector faults are a large share of field failures. Couplant that has seeped into the housing causes key failure, so wipe the instrument down after every session.
Summary
Surface, coupling, probe, velocity, power – in that order. Nine out of ten cases stop at the first step.
Related products
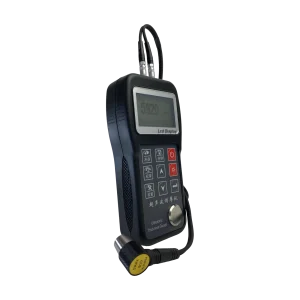
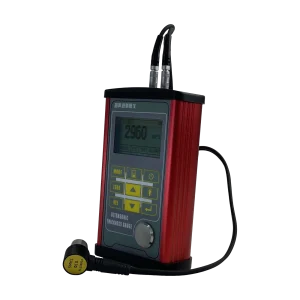
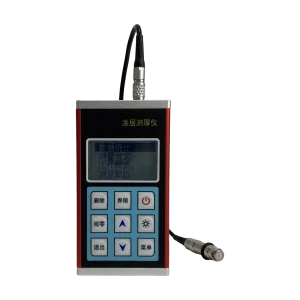
Tell us the workpiece, thickness range and accuracy you need — we will reply within 8 hours.