
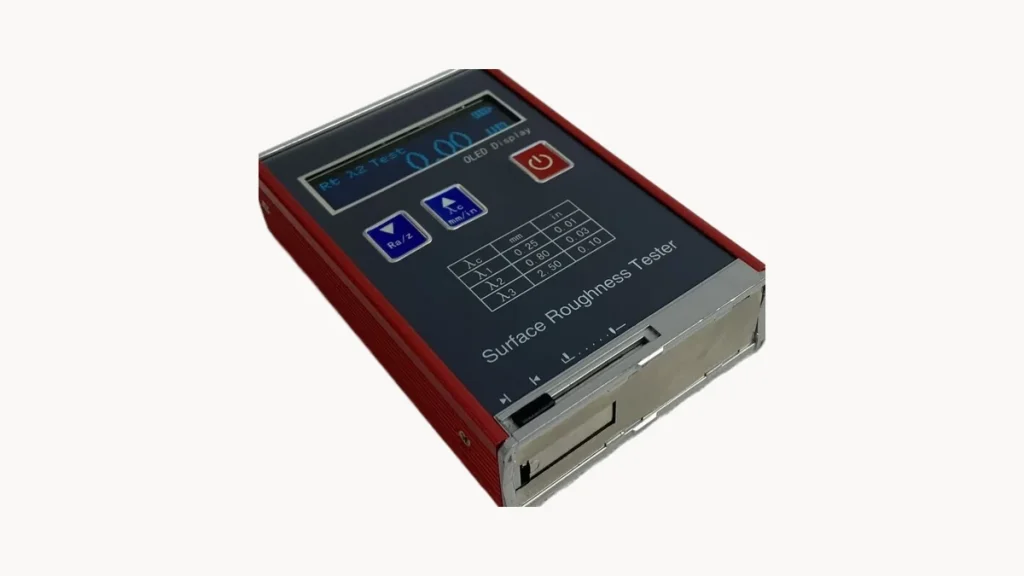
Hand-Held Roughness Tester: Three Prerequisites
A hand-held unit is treated as something you pick up and use. A number you can defend takes three things: a prepared surface, consistent parameters and a steady hand.
A hand-held unit is treated as something you pick up and use. A number you can defend takes three things: a prepared surface, consistent parameters and a steady hand.
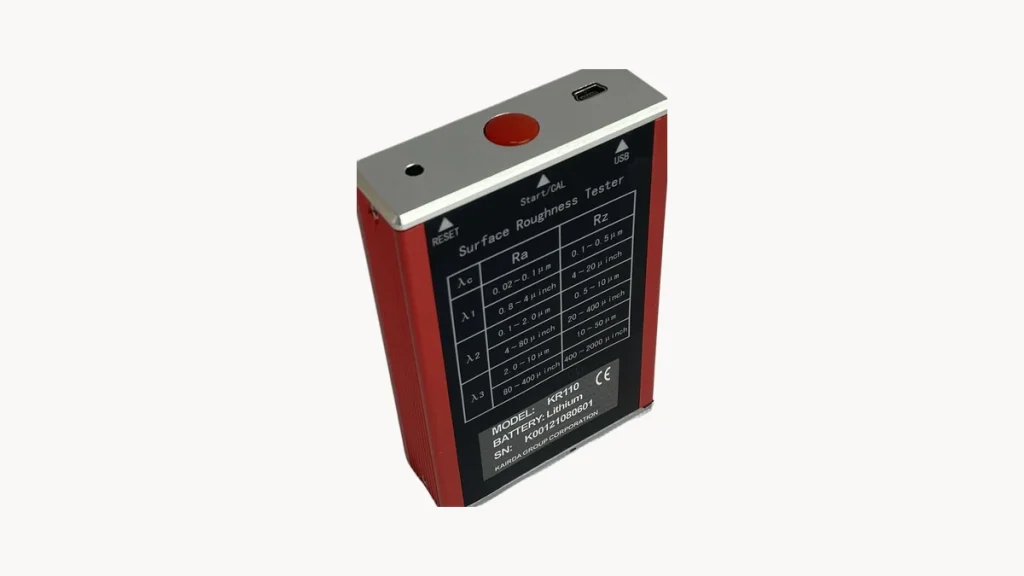
A pocket unit fits in a palm, and pays for it in range, probe and stability. Knowing which jobs it covers is more useful than reading the spec sheet.
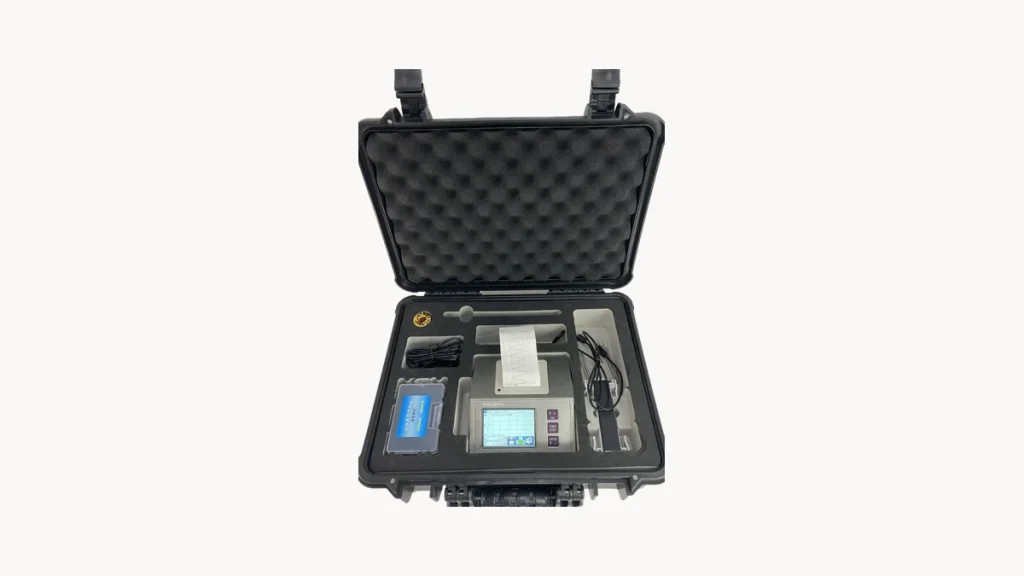
What fails most on a roughness tester is not the electronics but the stylus and the connectors. Three habits cover the care; six categories cover the troubleshooting.
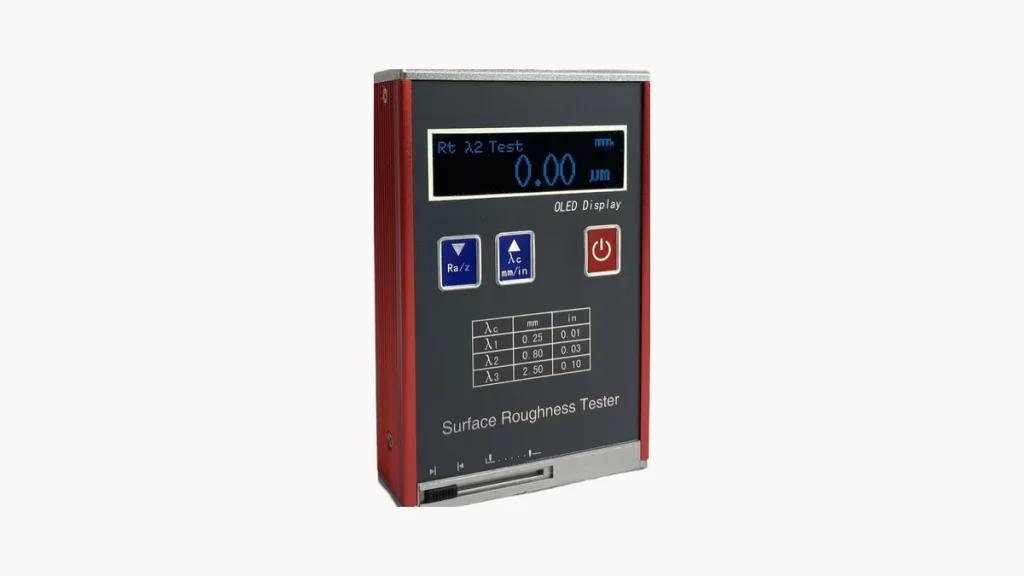
A palm-sized body has to fit a stylus, a drive, the electronics, a screen and a battery. Everything gives way a little, and those concessions are the limits of the instrument.
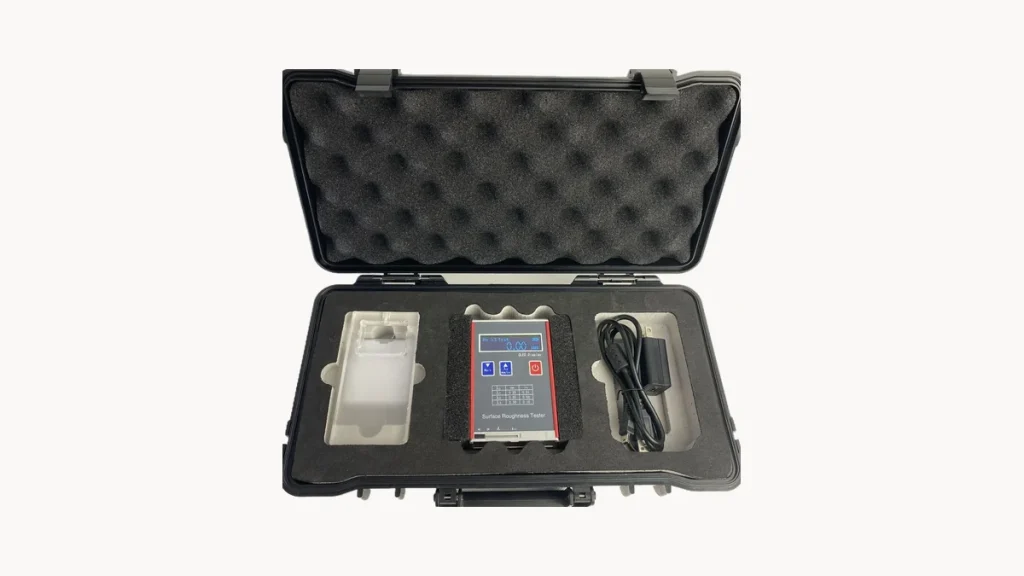
Almost everyone new to roughness measurement asks the same five questions. Here are the answers, without the textbook detour.
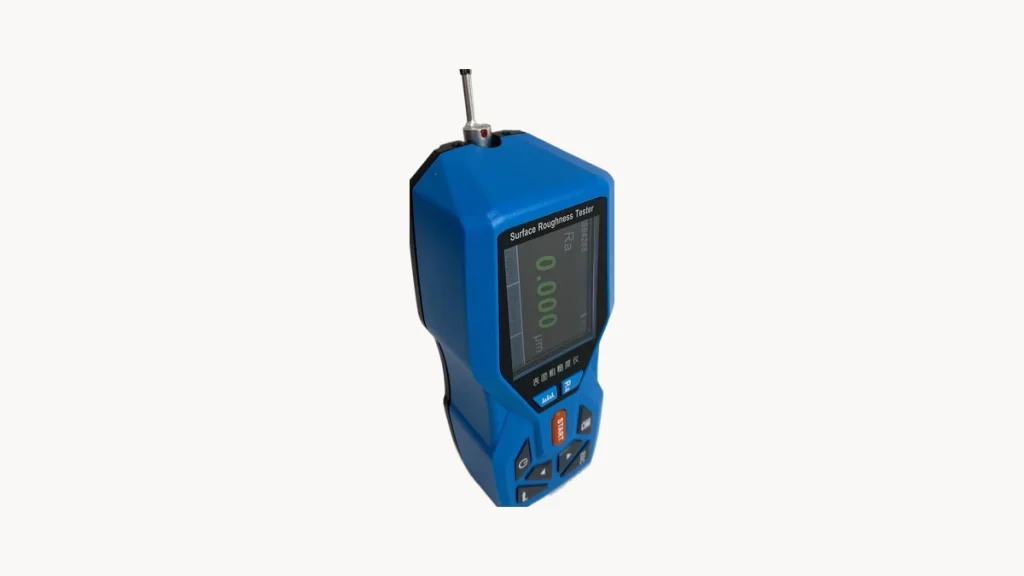
The speed at which the stylus crosses the surface is the parameter most people ignore. It decides both whether fine features are captured and whether the environment gets into the measurement.
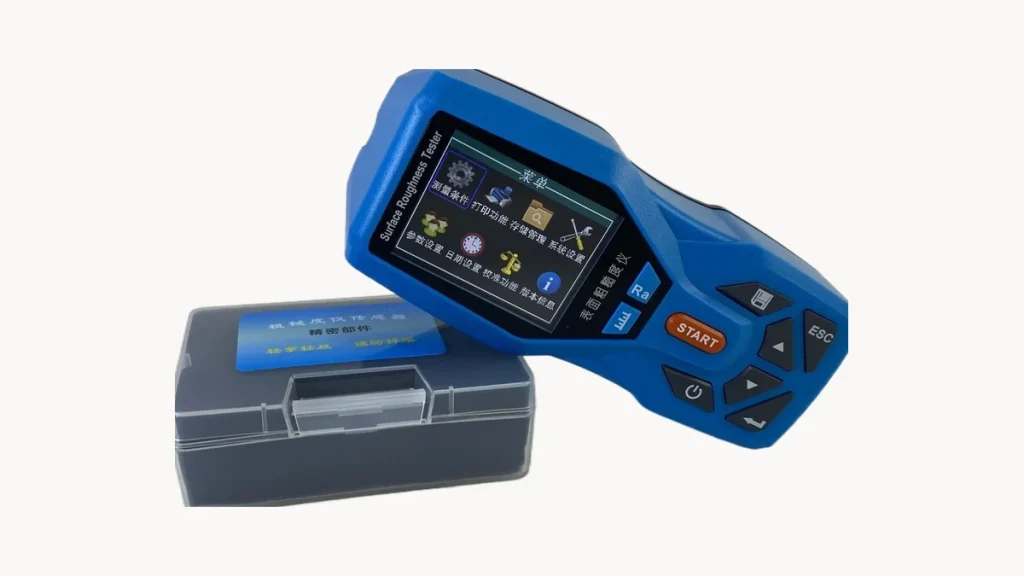
Jumping numbers and offset results usually are not a broken instrument. Calibration, parameters, workpiece condition or environment – work down these four layers and most cases resolve.
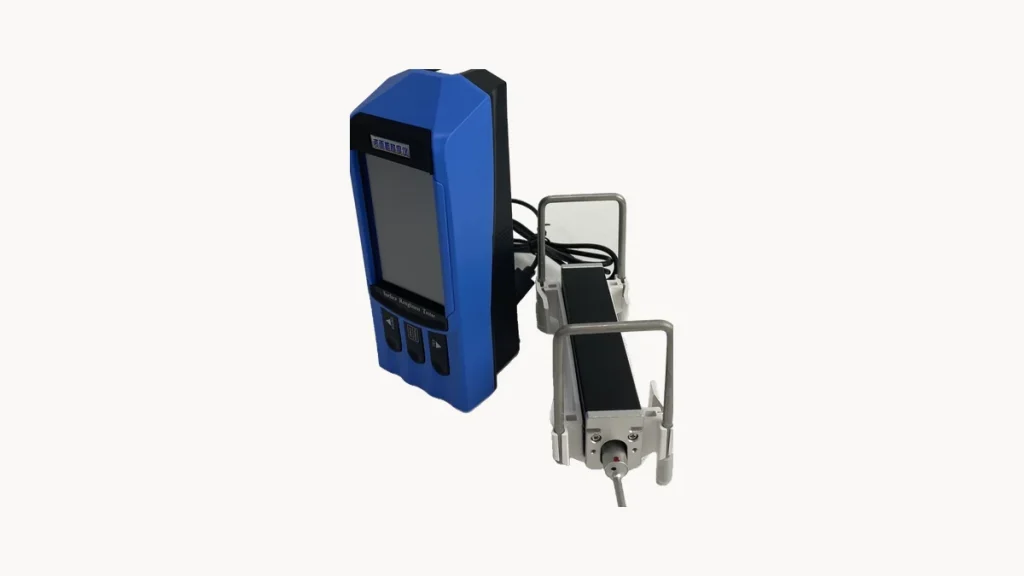
With probe and body separated, five details decide whether the data holds up: how the probe sits, which way it travels, where you measure, what parameters you set, and who is driving.
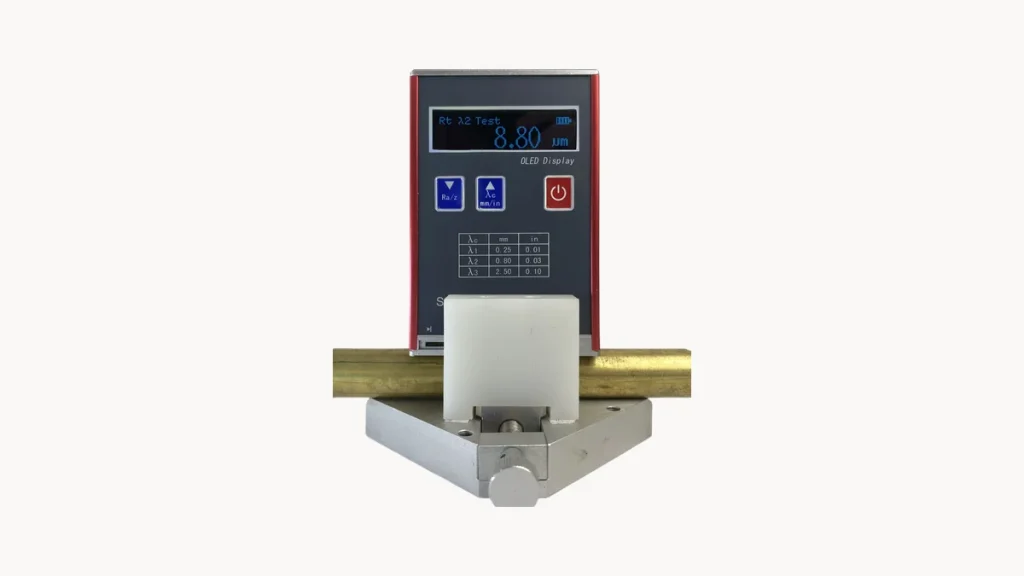
Results that suddenly drift, repeat measurements that will not agree, an odd noise from the drive unit – three symptoms that usually point at the instrument, not at how you use it.
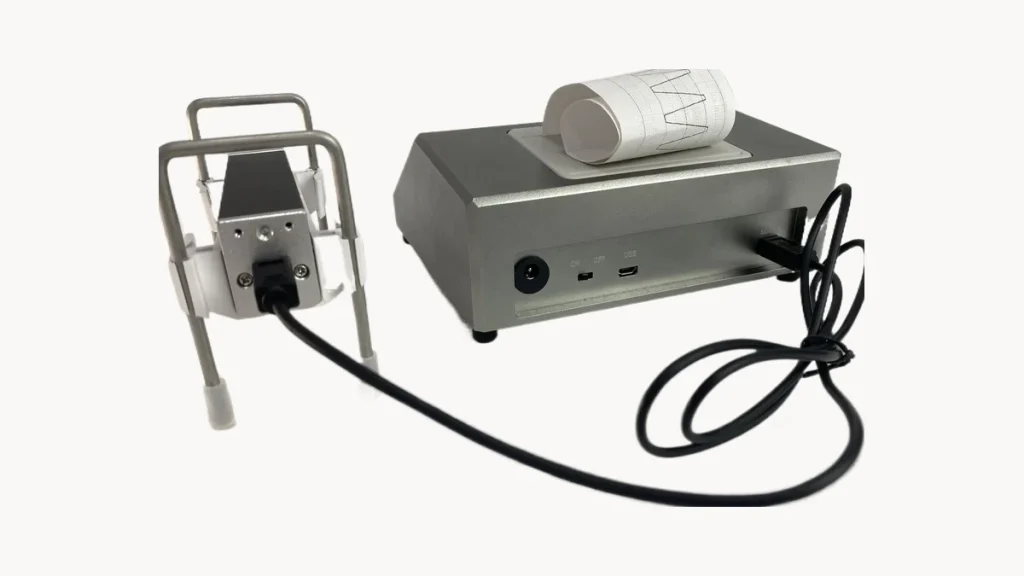
The same sample, three instruments, three different numbers. Usually nobody is wrong – the measurement principles differ. Here is where each one applies.


NDT instruments manufacturer & global supplier. Surface roughness testers, thickness gauges, hardness testers and flaw detectors — OEM / ODM supported.