
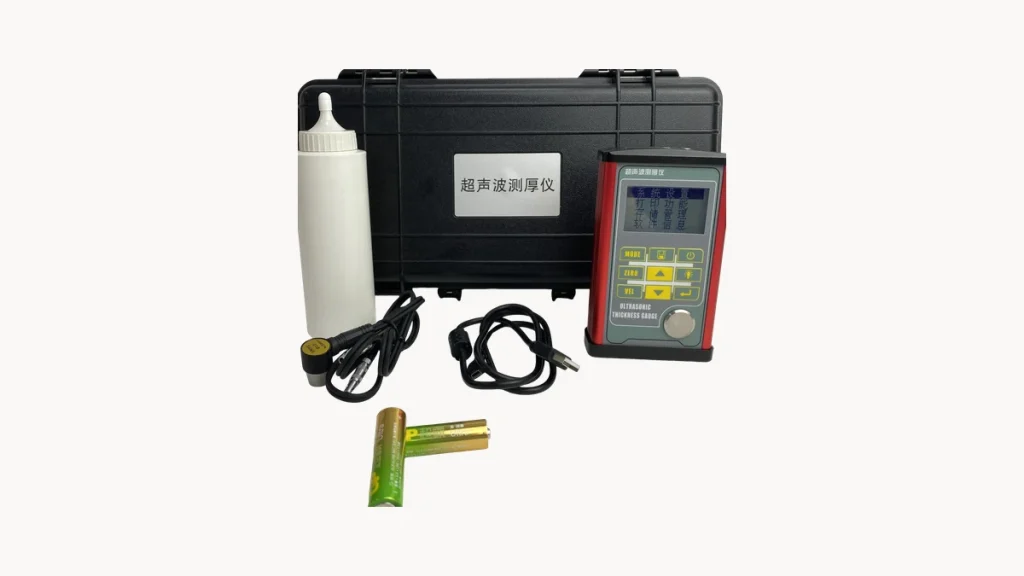
Ultrasonic Thickness Gauges: Four Tiers and What to Check Before Buying
The same category of instrument can differ fivefold in price. The difference is not the housing – it is velocity range, probe compatibility and signal processing.
The same category of instrument can differ fivefold in price. The difference is not the housing – it is velocity range, probe compatibility and signal processing.
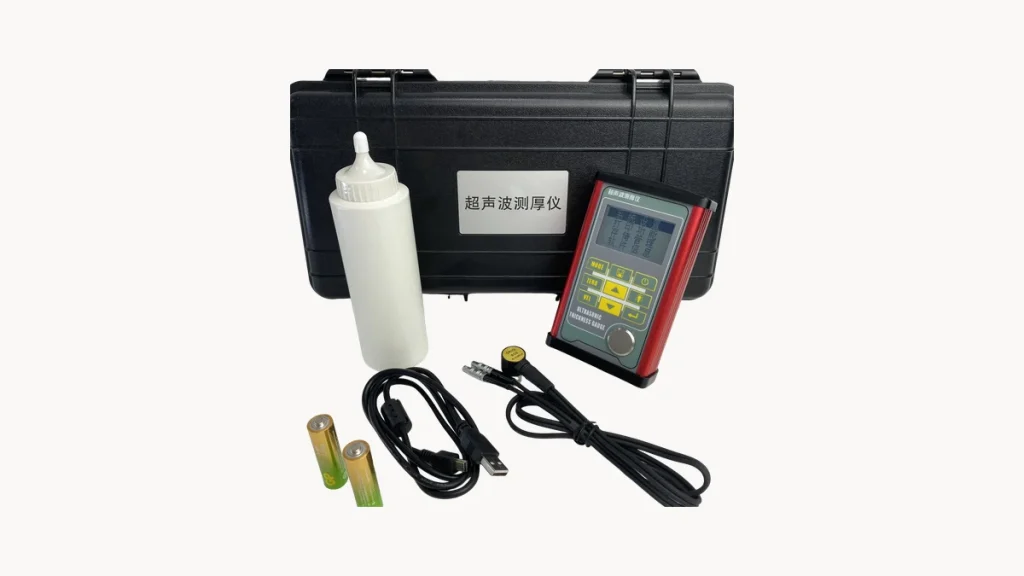
The part that fails most often on a thickness gauge is not the circuit, it is the probe. Once the face is scored or the connector oxidises, the reading drifts – and most people blame the instrument.
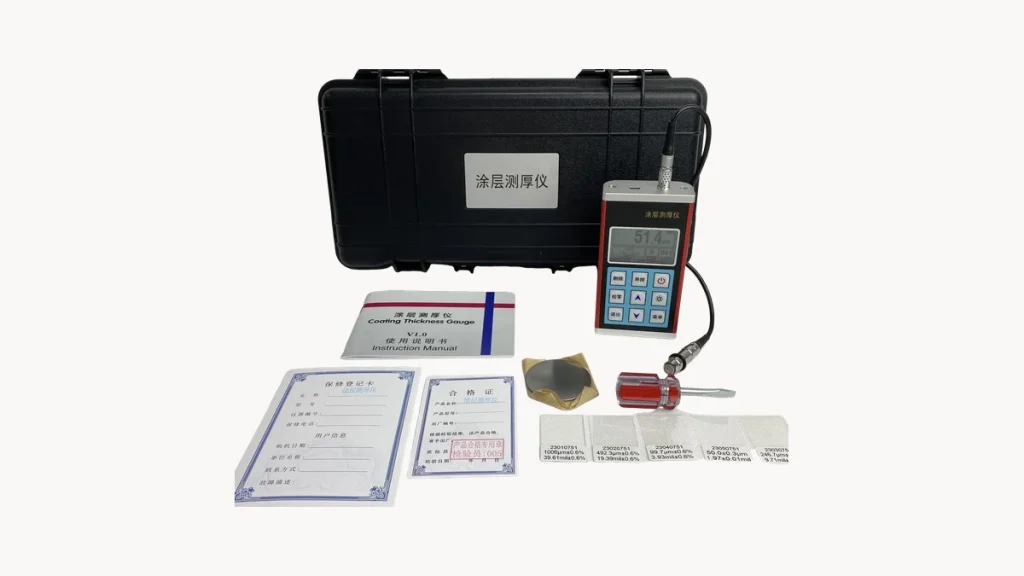
Coating thickness is not just “touch it with a probe”. From cross-sectioning to X-ray fluorescence there are more than seven methods, and picking the wrong one costs more than picking the wrong instrument.
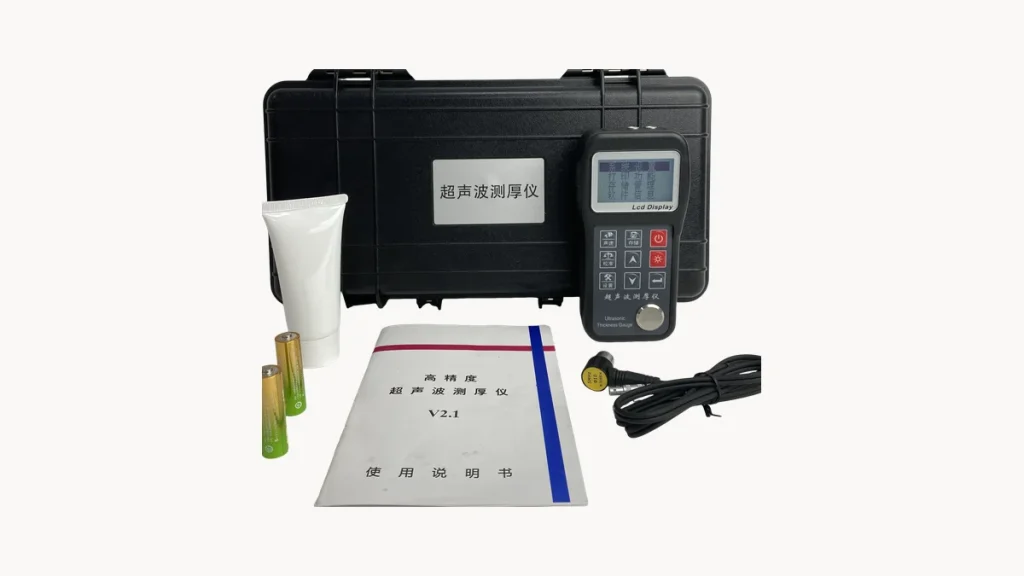
Same gauge, same batch of parts, numbers that do not match. Most problems come from coupling, velocity and surface condition. Here they are in the order you should check them.
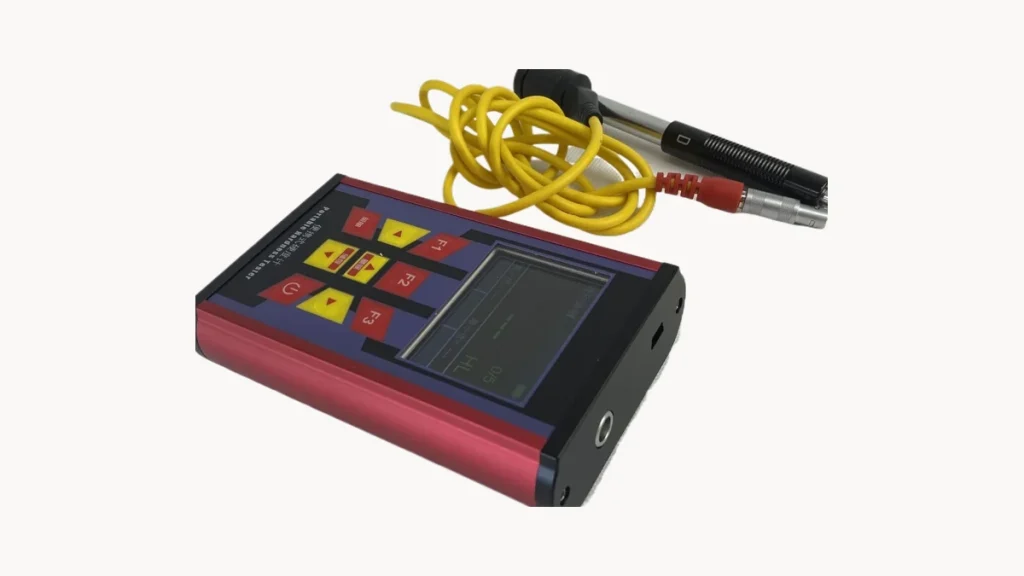
A portable hardness tester is often treated as a tool that hits anything. In practice it has four hard requirements, and missing any of them makes the number meaningless.
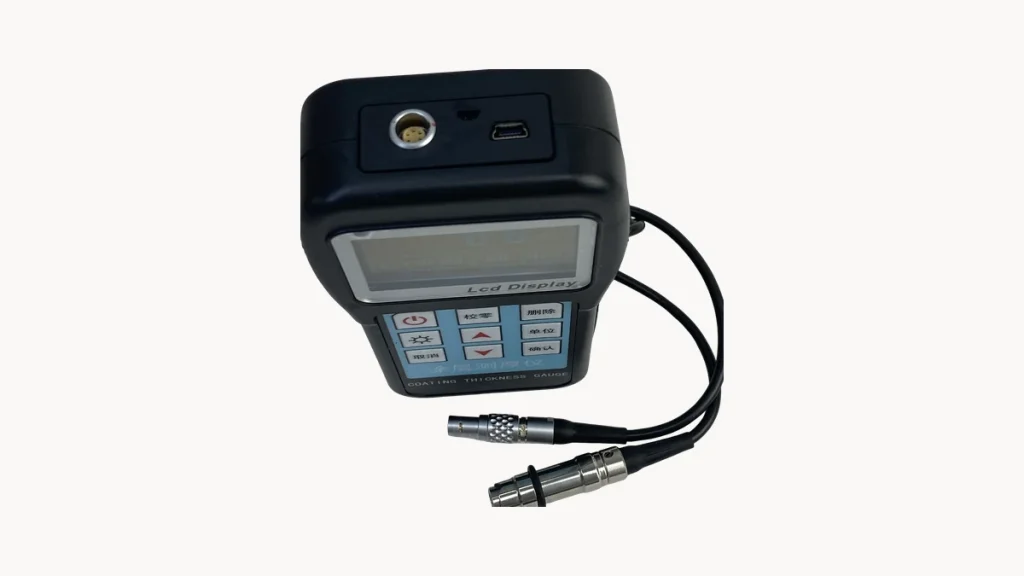
Two physical principles, two substrate families. Pick by what the coating sits on, not by price or by which one the salesman has in stock.
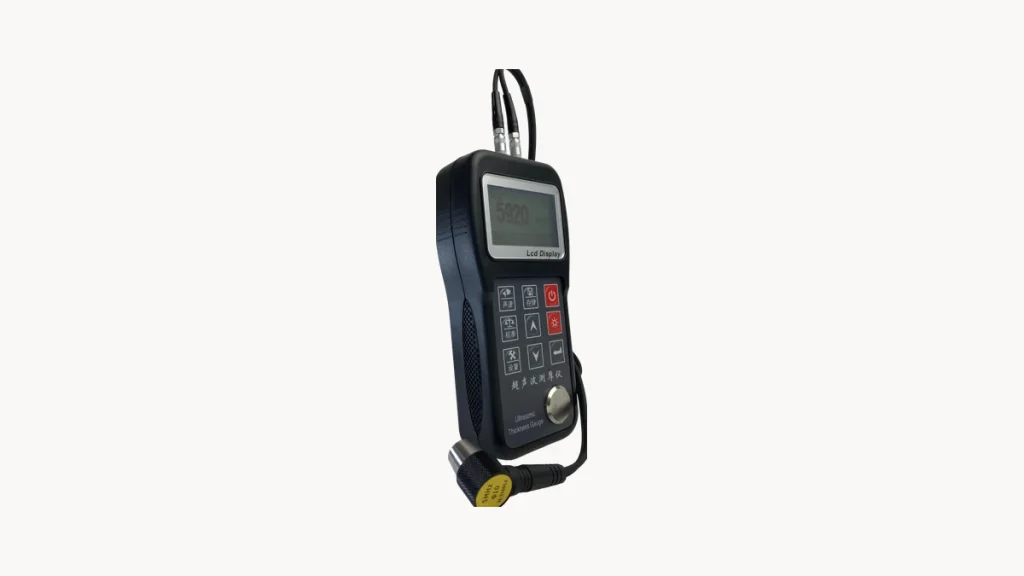
h = v x t / 2 is the whole principle. What decides accuracy is how well those two variables are measured.
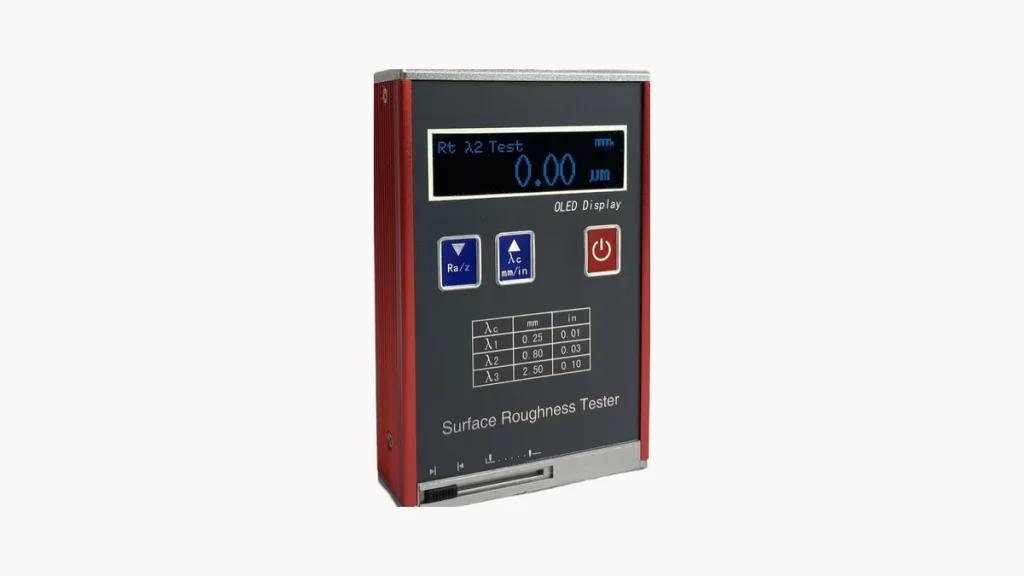
A palm-sized body has to fit a stylus, a drive, the electronics, a screen and a battery. Everything gives way a little, and those concessions are the limits of the instrument.
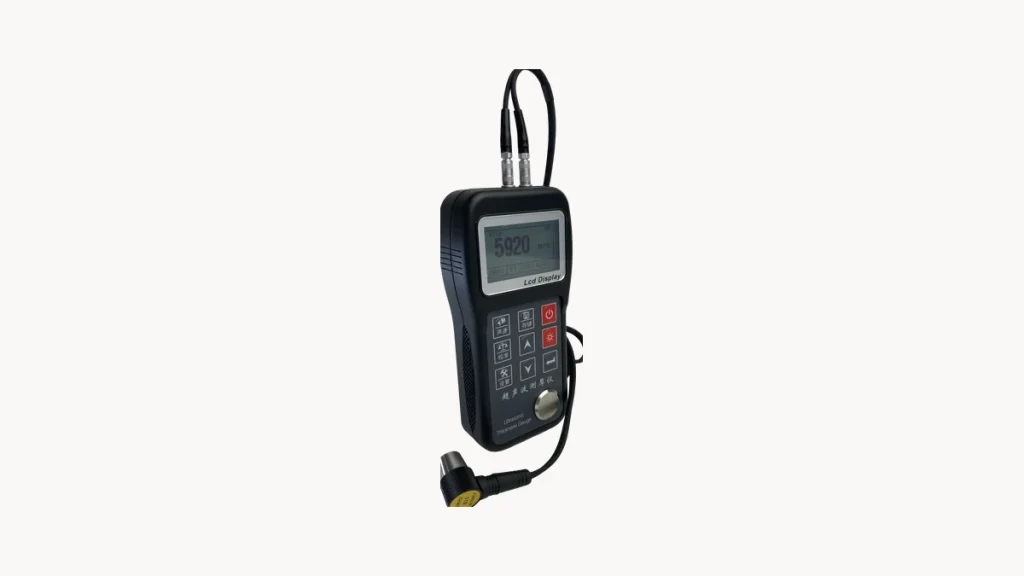
Swap the probe on the same gauge and the range and accuracy change. Buyers compare main units; what decides whether a measurement is possible is the probe.
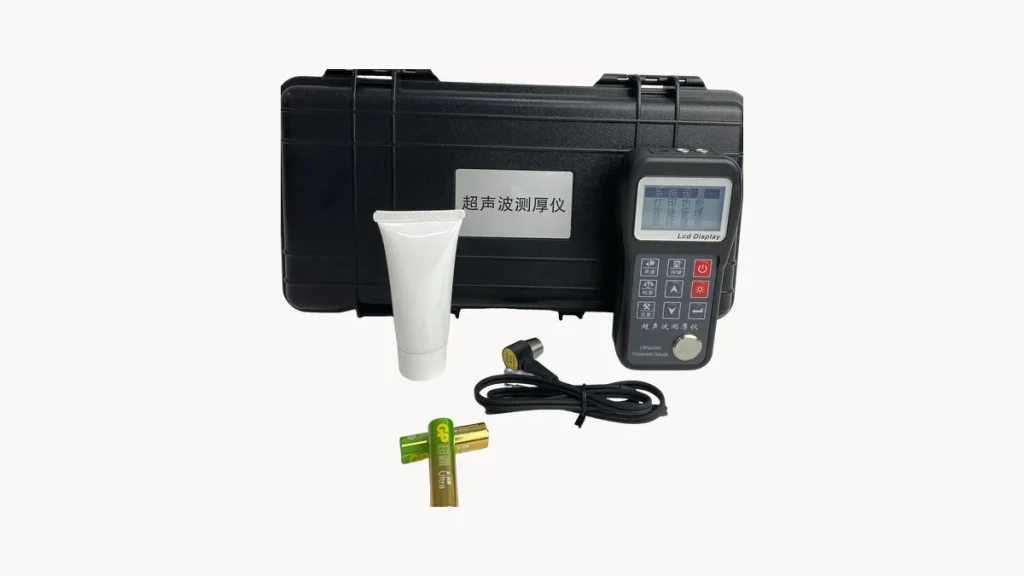
The cost of a bad thickness reading is rarely rework. It is a thin wall that was never flagged. The maintenance routine is what keeps the number signable.


NDT instruments manufacturer & global supplier. Surface roughness testers, thickness gauges, hardness testers and flaw detectors — OEM / ODM supported.